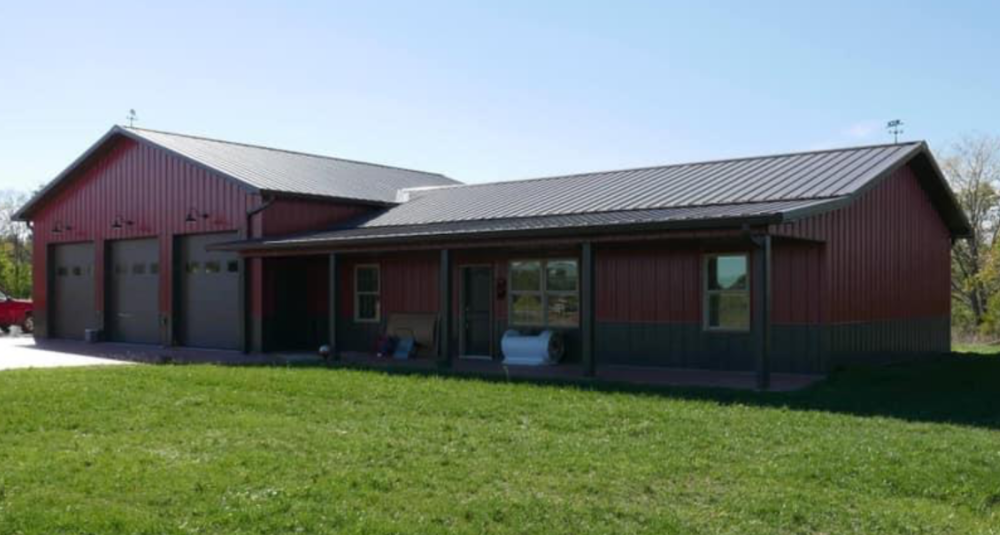
This week I am relating a recent day by day account of putting up a pole building for my oldest step-son’s father-in-law in Happy Valley, Tennessee. Check back to Monday for the beginning of this string.
On to day two on the jobsite…another sunny day. (Read that as “oppressively hot and humid”.) Jake picked up a towable manlift for placing the rest of the trusses. This turned out to be a true back saver.
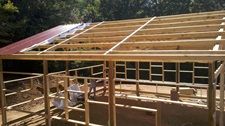
While the rest of the trusses were lifted into place, I cut all of the roof purlins to length, using a permanent marker to put arrows for “crowns up” on each of them. As trusses were installed, the purlins got placed into each bay, to stabilize them. The man lift proved handy in getting purlins into place, as it made working 12 to 17 feet in the air, a snap.
Here is where we caused ourselves some challenges, in two respects. One – not all of the handy arrows directions were followed by those doing the installs, and the second – the purlins needed to be fit tight against the trusses, in the joist hangers.
 The roof did get all framed up, however the next morning found the aerial crew having to spend a good portion of the morning taking joist hanger nails out of purlins and fitting them tight, as well as flipping over a few purlins so the crowns were the right direction. Because wood is flexible – and not absolutely 100% perfectly straight, just cutting purlins to length and installing them means they will fit snug on the first try. What needs to be done is to use cable come-alongs from truss to truss to tighten up each bay, thus pushing the purlins tight into each joist hanger. This is an important step in ensuring the building comes out “plumb” and “square”. Extra time spent for squaring a roof will save a mountain of headaches once application of roofing and siding materials ensues.
Once all was good and snug, we started to square up the right side of the roof. When squaring a roof, the best way to go at it is to focus on one half of the roof at a time. The overall roof lengths were absolutely perfect – the fascia and ridge were exactly the same length, and exactly what they should have been. Goes to show what pre-cutting all of the purlins to length and making sure they are tight against the trusses in each bay can do for a job!
We checked the diagonals…while holding our collective breath. They were exactly right on the money! Life was good. Fascia was straight and we were ready to run roof steel.
At 100 plus degrees, we did not get far – opting to wait it out until cooler temps the next morning. While admiring our work, we noticed a strange hump in the fascia on the opposite side of the building….uh oh – problem!
After investigating, the problem was found, but the solution took some thought.
Come back tomorrow for the answer.


