Fishing Cabin Insulation Blog-Compliments to Rick Carr in sharing this post on how he insulated his fishing cabin.
My insulation challenges are a little unique due to having an above ground crawl space, radiant floor heating above the sub floor, 2×8 and 2×10 walls and having a partial attic area (over the bedrooms) with the remainder a vaulted ceiling. My insulation is done and the drywall is going up. The test for the plan will wait until next winter.
Here is what I did.
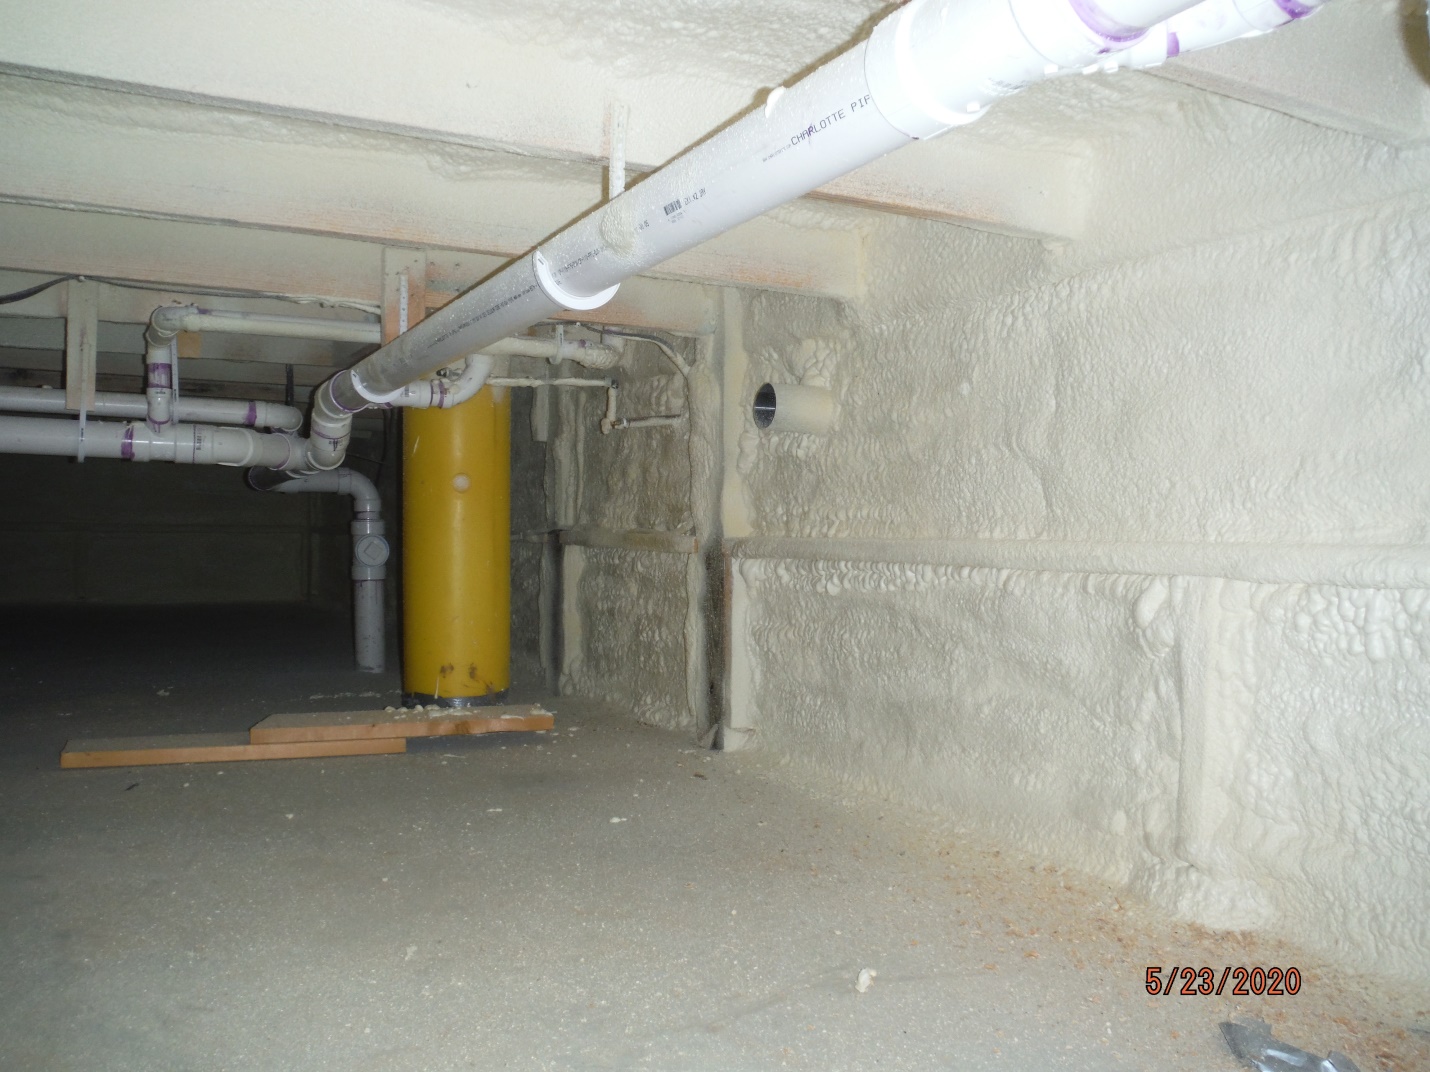
First I had closed cell foam sprayed. In the crawl space, walls 3 inches closed cell spray foam, completely sealed and R 21. Also we sprayed the underside of the subfloor to 1 ½ to 1 ¾ inches. The goal was to get R 1- to 12 on the underside of the floor. The radiant floor people tell me that heat moves to cold, so R 12 under the floor will have heat going up into the living space rather than down into the crawl space. There is also R 10 foam board and poly under the concrete.
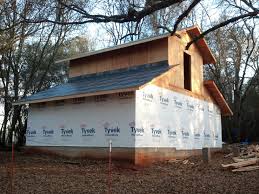
I also had 3 inches of spray foam, R 21, on the underside of the roof steel. The drywall will go on the underside of the roof purlins. We used 2 x 10 roof purlins to get a 9.5 inch cavity for insulation. I put Tyvek under the roof steel, so the spray foam actually adheres to the Tyvek, this will allow replacement of roof sheets, if ever needed. This still leaves a 6 inch space for R 21 unfaced batt insulation. Spray foam people will tell you that because the spray foam completely seals the effect is greater than the R value.
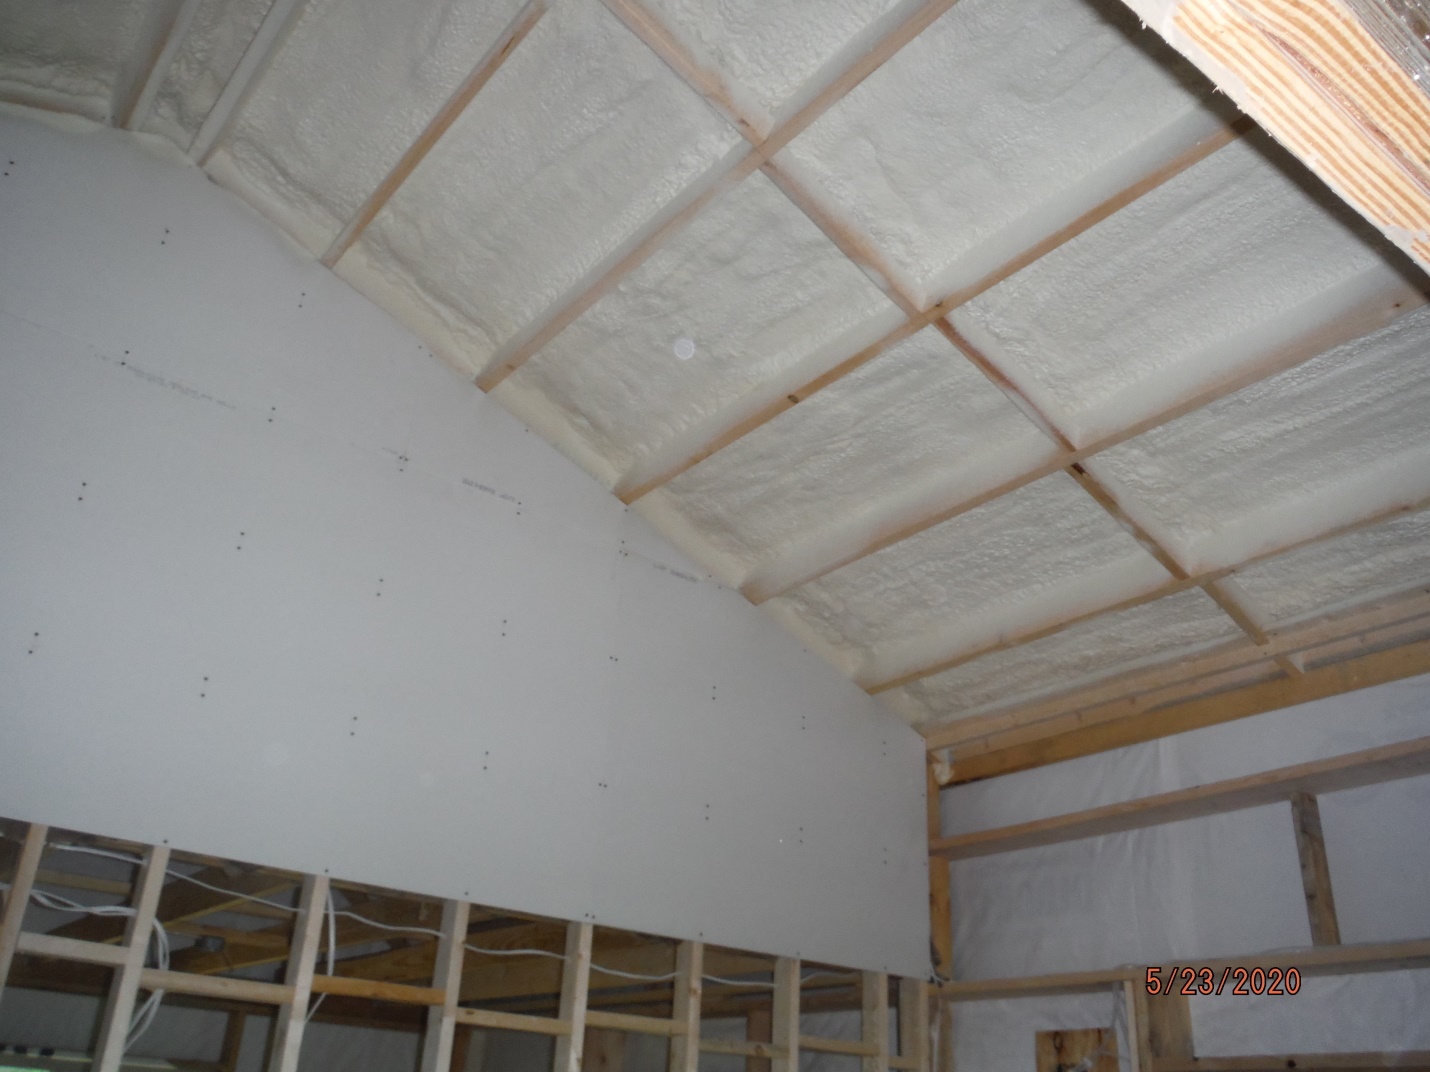
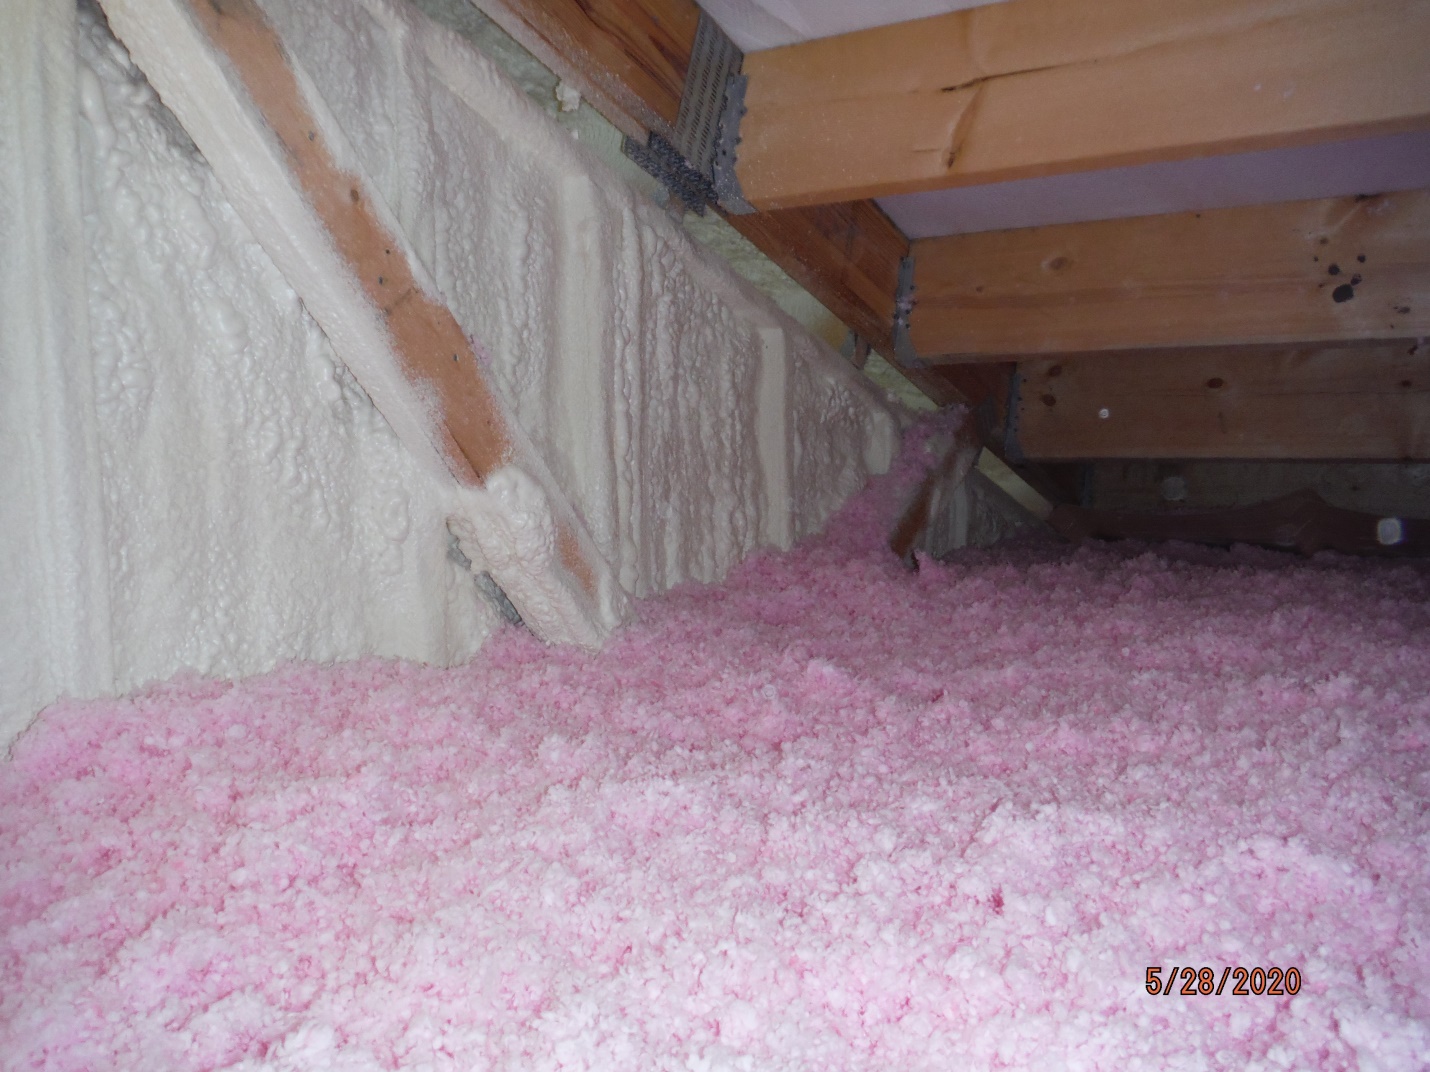
The Attic side of the divider wall was also prayed with 3 inches of closed cell foam. There wasn’t a normal 6 inch cavity to fill with batt insulation which made the spray foam a good choice for this. We also blew in 16.5 inches of fiberglass insulation into the attic above the bedrooms for R 49 in that area.
The walls are another matter. The 42 foot walls on the north and south sides of the building are 2 x 10 walls with 9.5 inch cavity. The 30 foot east and west walls are 2×8 walls with 7.5 inch cavity. I chose blown in wall insulation for the walls. It is commonly thought that you can only have a pro blow insulation into your walls, not so, I did it myself, with some help.
I chose Owen Corning’s Procat product and system, which can be purchased from contractor supply houses. https://www.owenscorning.com/insulation/products/procat This is the same product as used in the ceiling. The supply house will loan you the blower, which has a control at the end of the hose. You staple Insulweb netting to the framing, cut a small slit in the netting, insert the hose and blow it in. This might be a little more costly than batt insulation, but where do you find batts for 2 x 10 walls? Also the electric all over the place gets in the way of batts, no problem, filled in and around. The blown in insulation fills into all cracks and spaces. What you spend in the product is also made up in time/labor savings; it goes very quickly once you get the hang of it and the netting up.
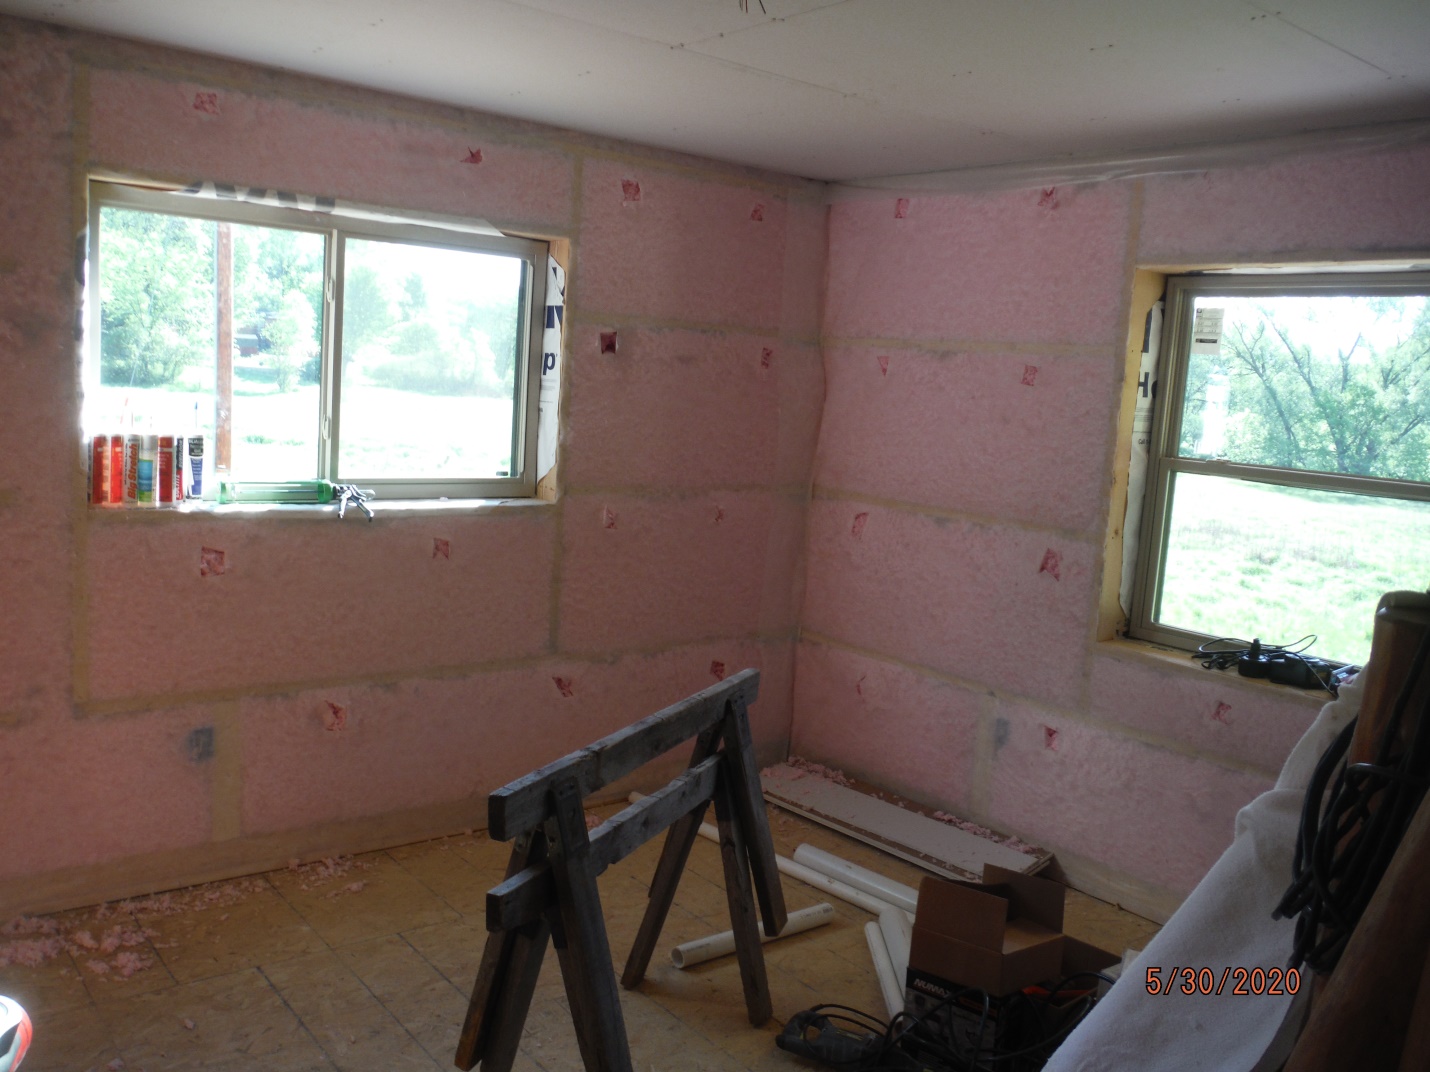
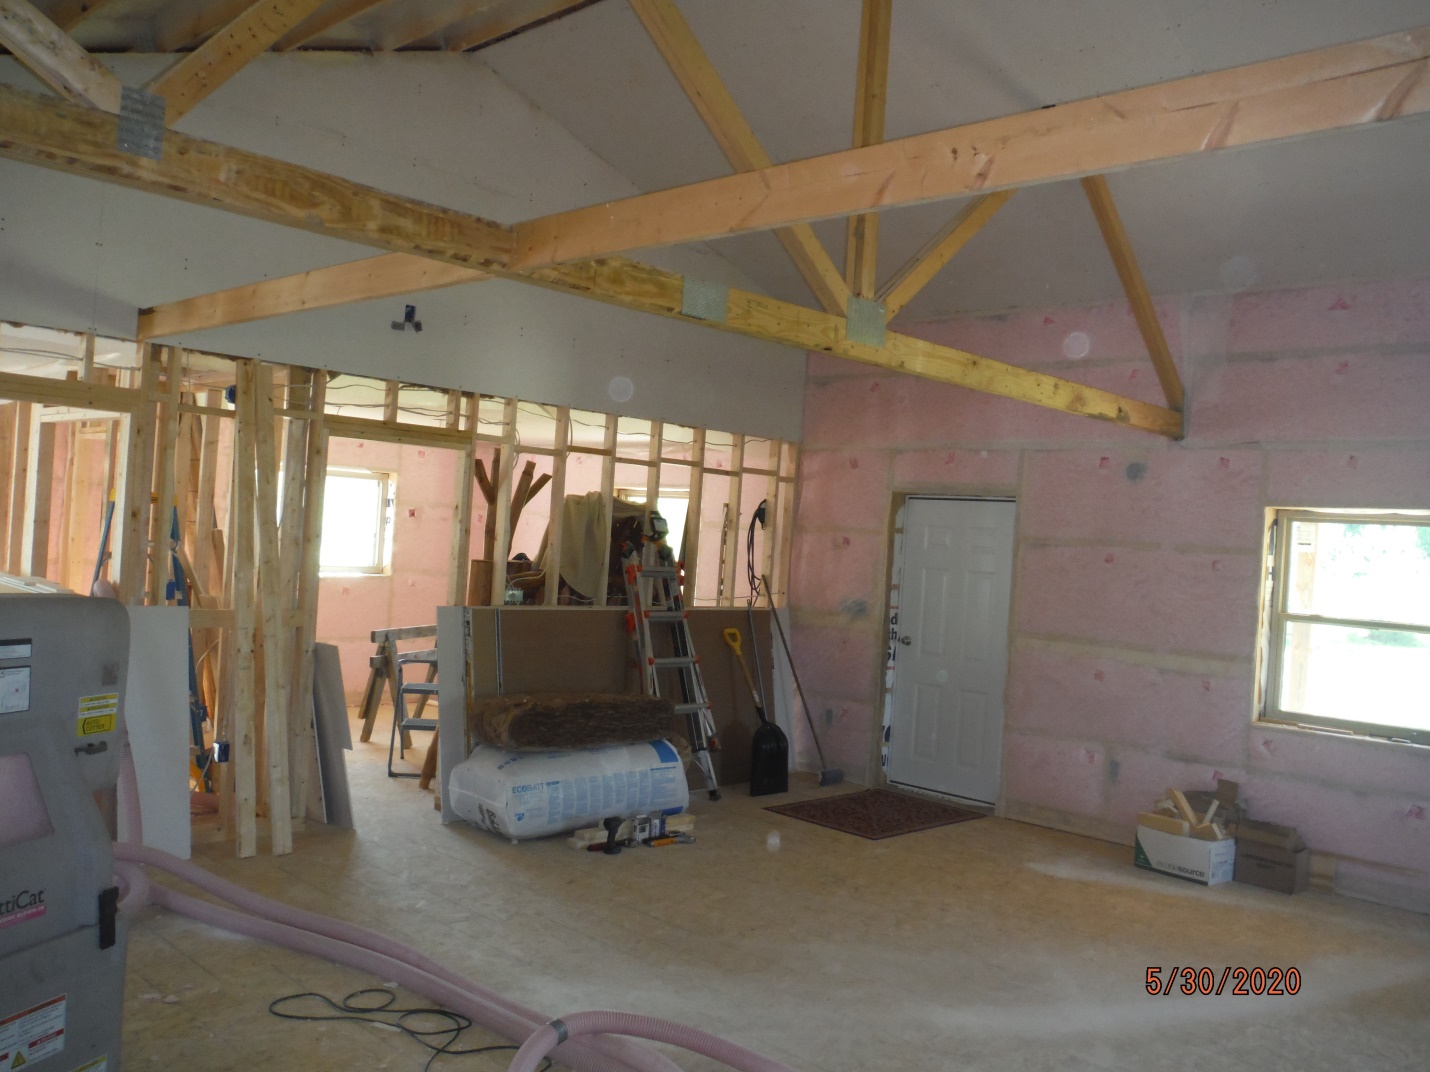
The puffing or pillowing is not a factor because the product is light enough that the drywall will straighten it. Also you can use your free hand to minimize the pillowing if you have a large cavity. The product R value for 5.5 inch cavity walls (2×6) is between R 22 and R 24 depending on how full you pack it in. With my 2×8 and 2×10 walls, the R value is literally off the chart, well over R 30.
I think I’ll be snug this winter.
