Can I Turn an Existing Pole Barn into a Barndominium?
Reader MICHELLE in GALLATIN writes:
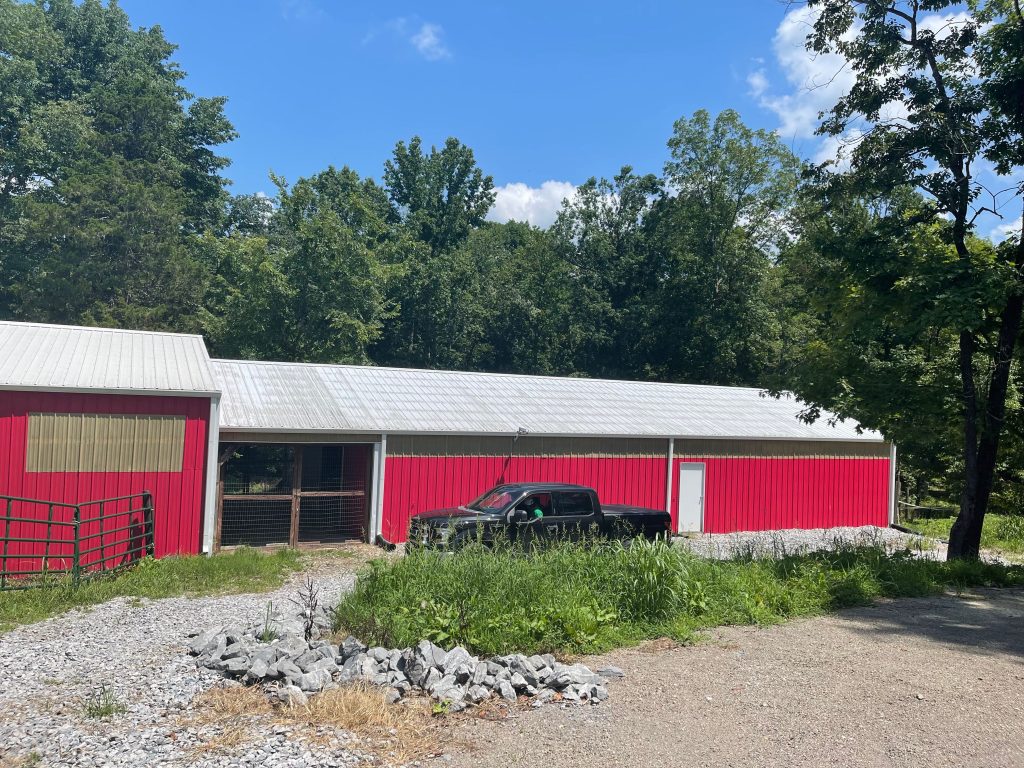
“Hi Mike, my name is Michelle and I live in Nashville Tennessee. I am under contract on an existing pole barn (30′ x 60′) that I am going to turn into a Barndominium. (Picture attached) Today we had the structural engineer come out because the city tells me I will need a letter from him saying the building is up to codes before they will issue a building permit. The structural engineer is not familiar with Barndominiums and has some questions about the roof sleepers. Everything else checks out OK. Is there any possibility he could call you to pick your brain on this? I am willing to pay you for your time on the phone call. Just so you know I am looking to do the spray foam on the ceiling and walls as per all the discussions I read on the barndominium Facebook page. Please feel free to call me if you’d rather talk this through more on the phone with me before the structural engineer calls you. If you decide you have the time to take his call.”
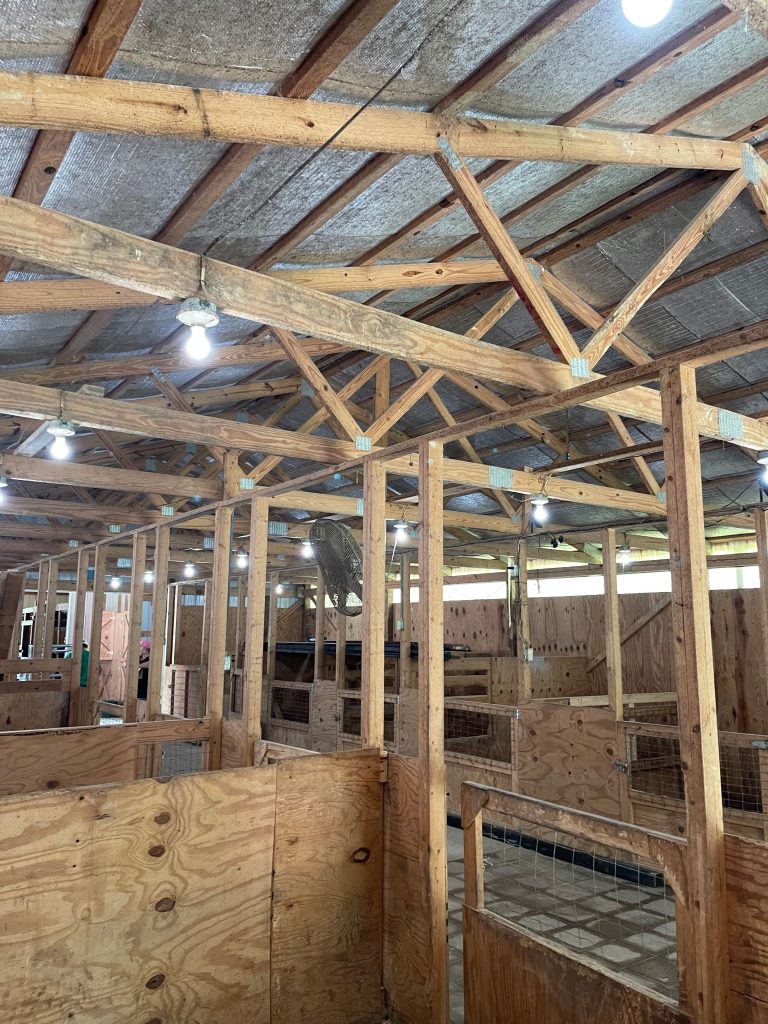
Mike the Pole Barn Guru says: Because Michelle is so nice, here are my insights, addressed by photo:
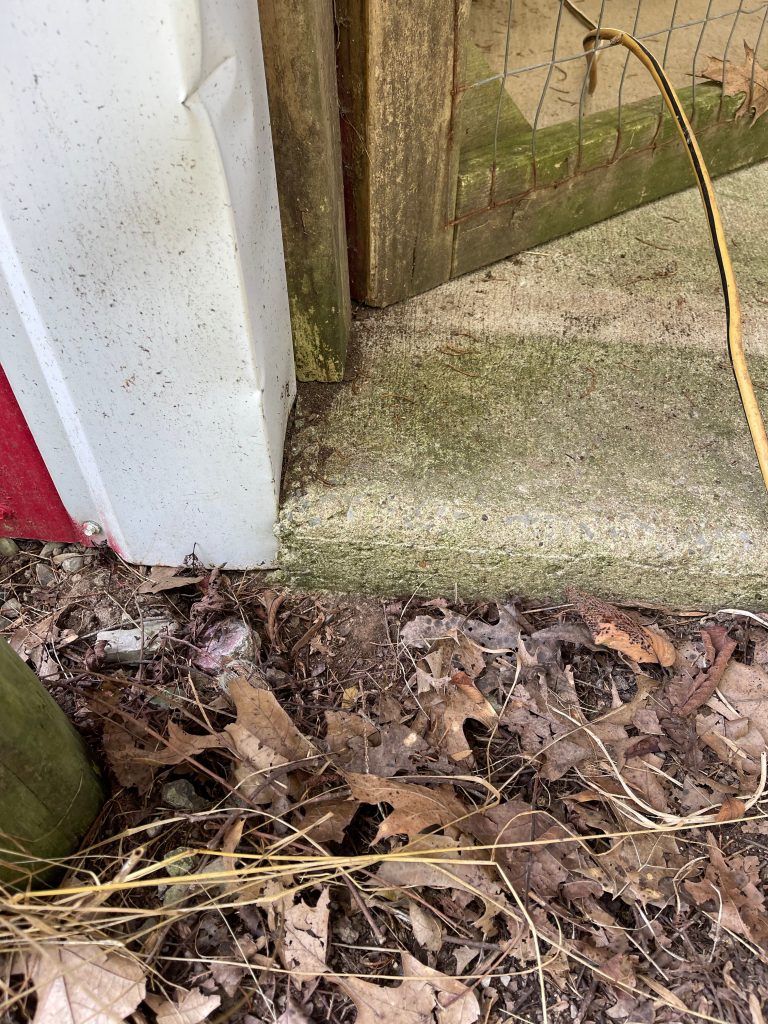
Wood entry door in wood jambs should be replaced with an insulated, factory painted, steel door with factory painted steel jambs
Reflective Radiant Barriers (RRB) are only effective at controlling condensation when seams are thoroughly taped together.
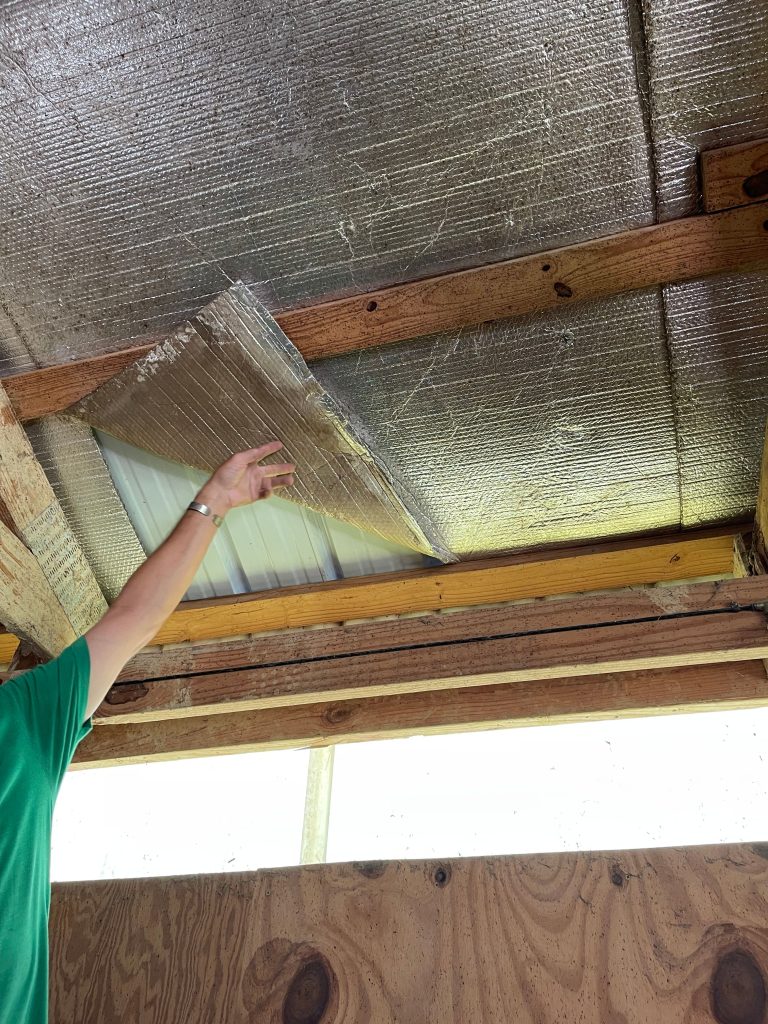
Roof trusses are unlikely to have been designed to support a ceiling load – requiring further analysis. Provided they are either adequate, or can be repaired to carry a ceiling load, heels are not deep enough to provide full depth of insulation from wall-to-wall. Design solutions could include (a) remove reflective radiant barrier from roof and use closed cell spray foam insulation to underside of roof deck, or (b) use closed cell spray foam closest to eaves on top of ceiling with blown fiberglass to R-60 in balance of attic area. Spray foam needs to be installed to allow for at least one inch of clear airflow above. Diagonal braces at corners are inadequate to properly transfer shear loads. It is possible to replace screws at top and bottom of each roof and wall panel with 1-1/2″ #12 diaphragm screws, with one each side of every high rib. This should get you to 80-90 pounds per lineal foot of shear resistance.
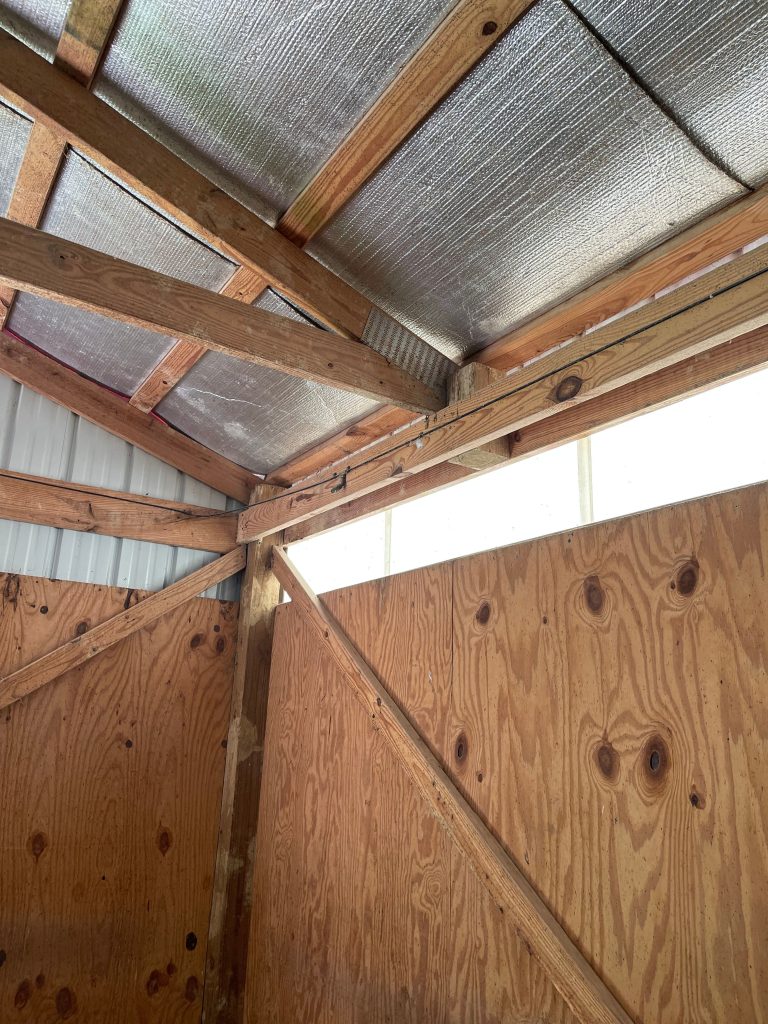
Eave lights should be removed as they will not transfer shear loads and will be covered with insulation and interior finish materials. Truss carriers (and their connections) should be checked for adequacy to carry concentrated loads from intermediate trusses. As a carrier is on the inside face of columns, an interior set of wall girts will need to be added to support finishes.
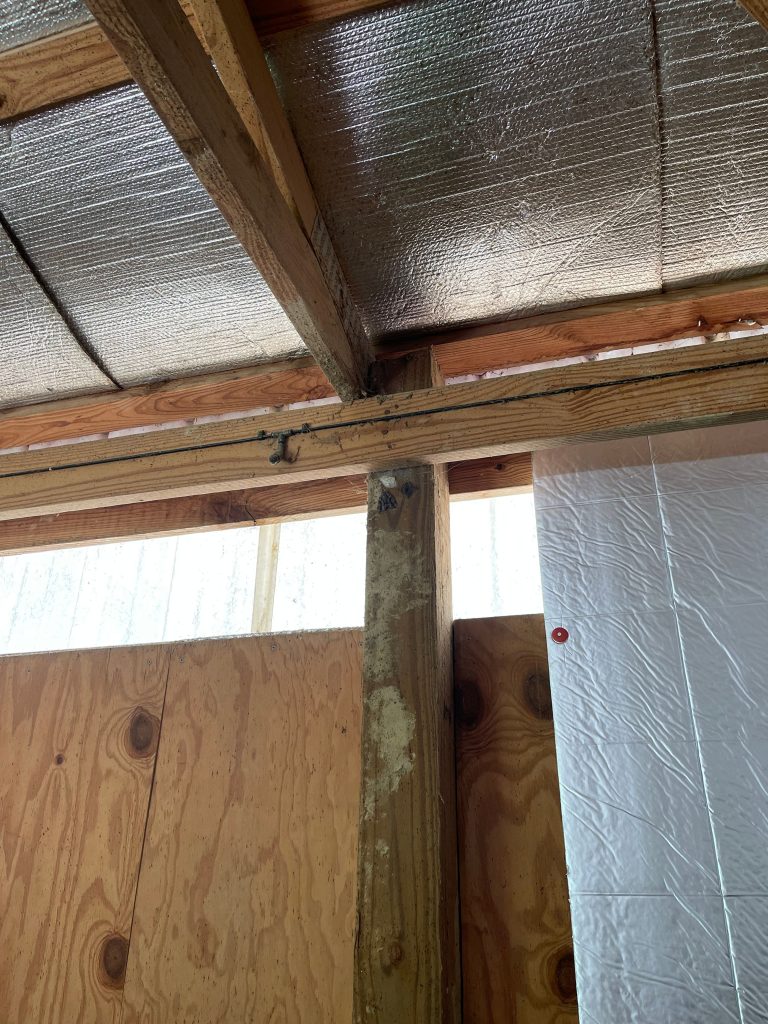
Sliding doors will need to be replaced either with solid walls, or an appropriate door or window(s). I would want to see an X brace between the end truss and the next truss at centerline connected to each chord with a Simpson LSTA12 or similar.
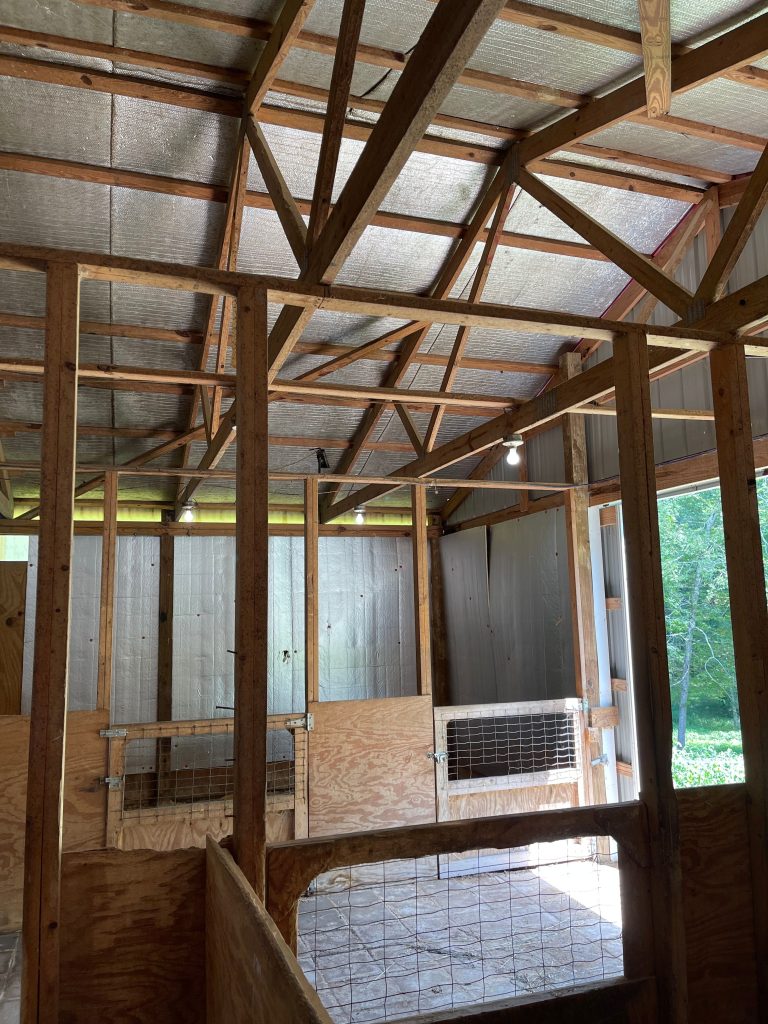
Connections between roof purlins and trusses are probably inadequate, particularly at endwalls.
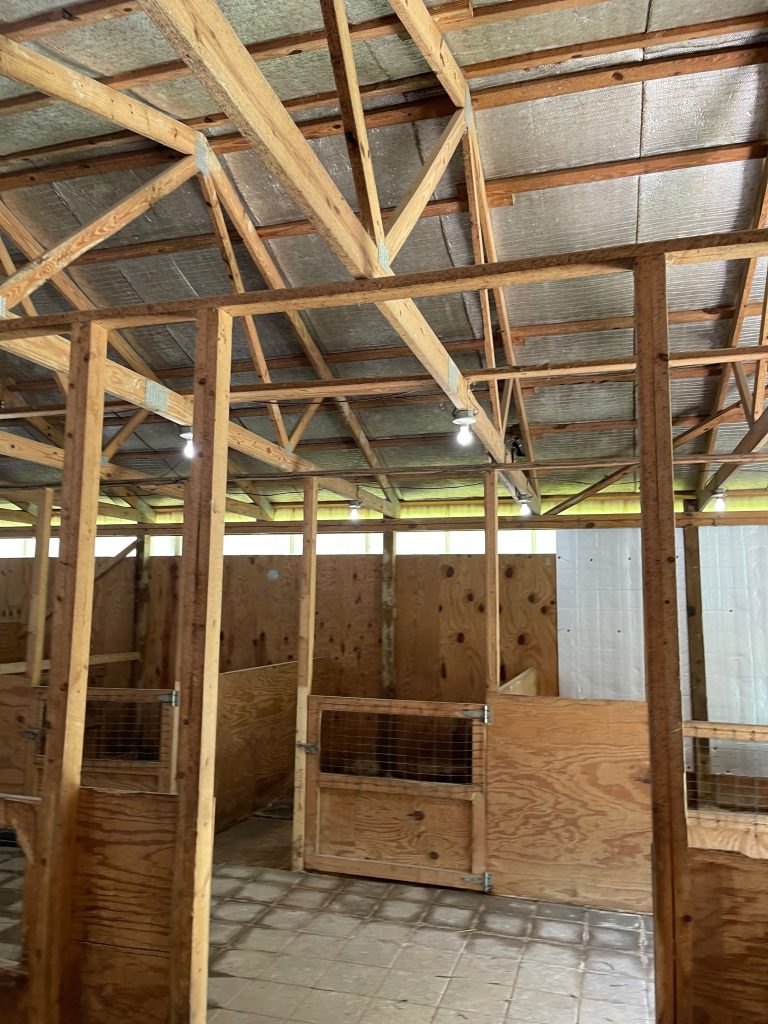
Truss bottom chords should be braced laterally no less than 10′ on center (and probably more like every 6-7′). Ceiling joists would fulfill this requirement.
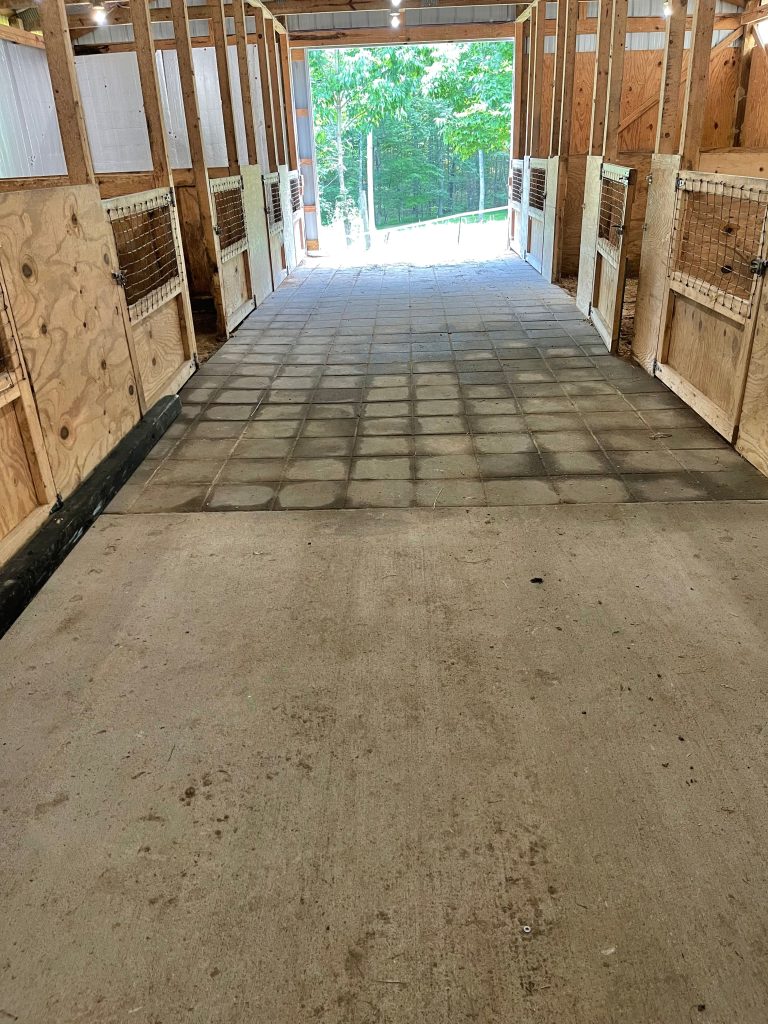
Remove any current concrete slabs – re-pour four inches thick over no less than four inches of compacted gravel, a 6mil minimum well-sealed vapor barrier and ideally R-10 EPS insulation boards.
If a dead attic space will be created, provide venting at eaves and ridge
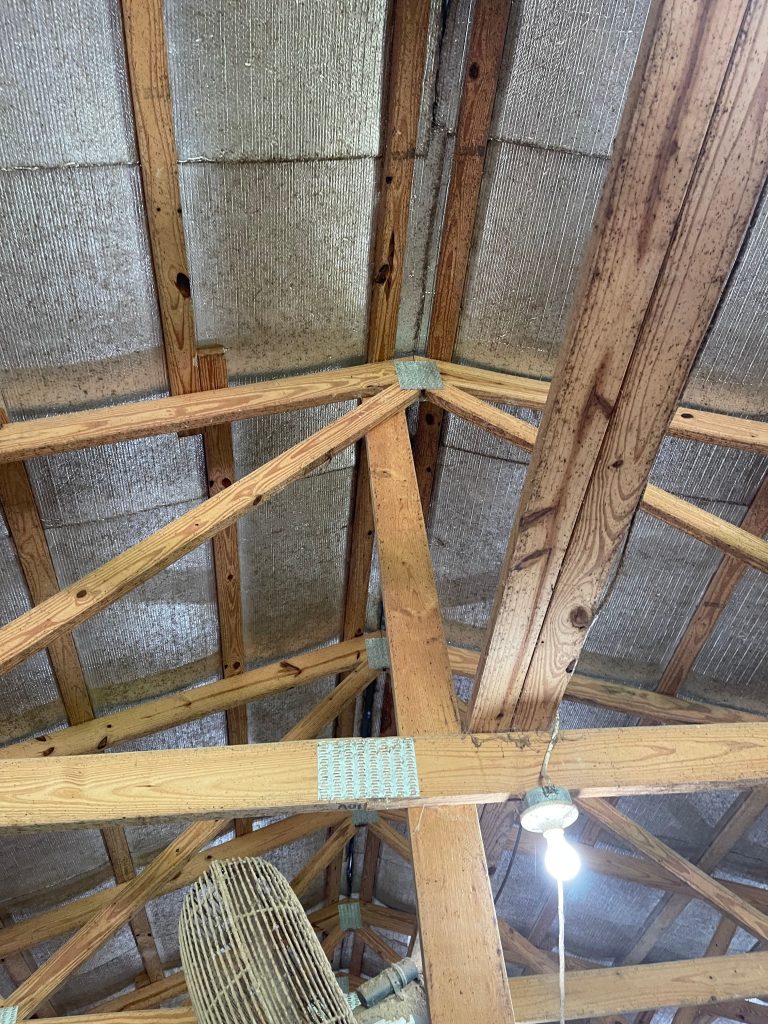
Roof steel is showing signs of aging, I would recommend replacing – remove RRB and order roof steel with an Integral Condensation Control factory applied, unless roof assembly is to be insulated only with spray foam insulation.
Perimeter of slab should be insulated with R-10 EPS boards down two feet, then outwards two feet
My recommendation – I would continue to use this building strictly as a barn and erect a new, fully engineered and Code conforming post frame home elsewhere on this property. Bringing this building up to meet Code requirements as a dwelling will cost more in time and labor than building is worth. https://hansenpolebuildings.com/2022/01/why-your-new-barndominium-should-be-post-frame/
 In many cases it may be possible for an engineered truss repair to be made, to upgrade load carrying capacity of truss bottom chords to a minimum of five psf. I’m sorry to say, this is not free. Truss company’s engineer will need to put his or her license on the line in designing a “fix” for trusses designed for a load other than is now intended. It’s not same as designing original trusses. If you think about it, redesigning and augmenting something you have built, is always more time consuming (and brain challenging!) than first time around. His time and expertise are not without a charge. It’s not usually “much”, like a couple hundred dollars. Then there is cost of materials to do repairs. This will be final out-of-pocket expense if you are doing truss repairs yourself. If not, a contractor’s charge must be added. All totaled, it could run you anywhere from a couple hundred dollars to over a thousand or more.


