Tag Archives: lean-to shed

Skillion Roofs

Skillion Roof Question

Reader WELLS in AIKEN writes:

“I am building a 20′ x 24′ pole barn studio with a skillion roof. What size roof rafter to span the 20′ without any sagging? 2 x 8 or 2 x 10 or a more engineered rafter. I do not want any supporting poles on the interior of the studio.”

Mike the Pole Barn Guru says: 
Skillion roofs have a single sloped flat surface. Other names for this style include lean-to, mono-pitched or mono-slope, or shed roof. They are popular for minimal and contemporary-style buildings.

A skillion roof can be inexpensive and easy to build. While you’ll often see these roofs on minimal architecture, they’re also a top pick for outbuildings. They provide optimal water drainage but aren’t ideal for areas with high winds.

If you’re considering a skillion roof for your post frame home, garage, or shed, here’s what you should know:

Designers use skillion roofs on minimal-style barndominium homes. They’re also popular for home additions, sheds, and garages due to their easy construction and high pitch. 

Skillion roofs are structurally strong. Their steepness provides optimal water drainage, and skillion roofs with a high-pitch work well for snowy climates.

These roofs are not a good choice for areas experiencing frequent high winds. Since they only have one slope, they’re more likely to sustain wind damage than a hip or gable roof, for example. In post-frame construction, long columns on high sidewalls can become quite large.

Skillion roofs are ideal for any building owner looking for a contemporary, cost-efficient, or easy-to-build solution. But along with their strong set of pros are a couple of disadvantages. 

Here’s a look at the pros and cons of a skillion roof.

Pros of a skillion roof:

Easy to build – A skillion roof features one flat, sloped surface, making this roof amongst easiest to build.

Affordable – Fewer intricacies and simple building plans result in a less expensive roof.

Modern aesthetic – Skillion roofs have a modern aesthetic, perfect for contemporary and minimal style buildings.

Good choice for building additions – A skillion roof is ideal for additions or extensions, provided drifting and slide off loads are properly considered in snow country.

Optimal water drainage – A skillion roof with a steeper slope have excellent water drainage.

Ideal for Snow – Roofs with a high pitch are ideal for snowy climates since steep angles allow melting snow to run or slide off.

Cons of a skillion roof:

Not ideal for high winds – Due to steep pitch and singular surface, skillion roofs are prone to wind damage and unsuitable for hurricane-prone areas.

Less attic space – Pitch majorly reduces amount of attic space. This can be con if you need extra storage space, a partial second floor, loft or mezzanine.

Wide clearspans can be problematic – Once beyond span capabilities of common dimensional framing lumber, engineered wood (such as LVLs or glu-laminated beams) can become cost prohibitive. Prefabricated wood roof trusses require significant depths at low end (depending upon span), resulting in decreased headroom or taller wall heights.

More expensive roofing – Most common 29 gauge through screwed steel roofing warranties are void on slopes of less than 3/12 (three inches of rise per foot of horizontal travel). For lower slope steel roofs, concealed fastener steel panels over sheathing or 26 gauge or thicker PBR panels become design solutions of choice.

In answer to your question, IRC (International Residential Code) Section 802 has rafter span tables for common load combinations. Table R802.4.1(2) with a dead load of 10 psf (pounds per square foot) probably best matches your situation. You could utilize 2×10 #2 Southern Pine rafters at 16 inches on center or 2×12 #2 Southern Pine at 19.2 inches on center, from this Table.
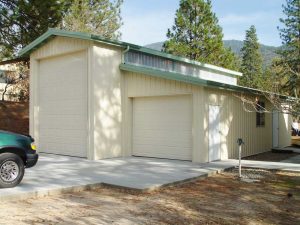
Adding a New Lean-to

Adding a Lean-To Shed on an Existing Pole Barn

Reader SAM in CANNON FALLS writes:

Pole barn garage“Hello I am looking to add a lean-to to the side of my pole building on the eave side. I was looking to use a mono truss at with a 2/12 pitch and 8′ to the bottom of the truss/ ceiling height. Existing pole building has 6×6 posts with an 8′ on center spacing. The lean to is going to be 24′ wide by 10′ deep with 4 posts and a beam at the 8′ mark (so it would have a 2′ overhang. to connect it to the existing building we were planning on installing a ledger on to the 4 6×6 post on the existing building to hang the mono trusses off of. My question is do I need more posts on the existing building side and truss spacing or what would you recommend for my application.”
Your situation is one seemingly quite simple, however is fraught with potential for creating more structural problems than it resolves.

Here are some general considerations when adding a side shed:

Inadequate footings

Most (especially ones not designed by a Registered Professional Engineer) post-frame buildings have inadequate footing under their building columns. Often this is a result of having been built by a “professional” builder who sees cheaping out here resulting in adding profit to their bottom line. Use of dry bags of premix (https://www.hansenpolebuildings.com/2012/11/concrete/) or inadequately sized concrete ‘cookies’ fall into this category. If your intent is to attach to existing building columns, then an engineer should be consulted to verify adequacy of existing footings for weight of present building and planned addition.

Drift/Slide off loads

If the high side of your proposed addition is lower than the main building eave, then snow will slide off onto your new shed roof. This can easily result in loads being imposed on new roof system far beyond the design capacity of roof purlins and trusses. In some instances, snow slide off can be great enough to actually fail steel roofing! https://www.hansenpolebuildings.com/2015/05/monitor/

What if the high side of shed and the low eave of the original building are at the same height? Doesn’t this solve potential snow problems?

Well, in a word, no. Now snow has a greater surface to accumulate on (one half of main roof plus added shed roof). When winds blow across the shed and up the main roof, they now deposit a greater pile of snow upon the leeward side of the roof near the peak. While all trusses are (by Code) supposed to be designed to support unbalanced snow loads, there is no way this extra load could have been anticipated – potentially leading to a failure of your main building trusses.

This particular scenario can also result in leaks, if not properly framed and carefully flashed – https://www.hansenpolebuildings.com/2014/10/pitch-break/

Moving on to your proposal…

For an eight foot span from the main building wall to the new row of columns, ordering prefabricated roof trusses is going to be an expensive proposition. Although I love prefab trusses (I spent two decades in this industry, in a past life), unless you intend to create a flat, level ceiling in this shed, it just isn’t worth it. Dimensional lumber rafters are most likely your best option.

A 2/12 roof slope may not be your best choice. Most steel warranties are void on roof slopes under 3/12. Building Codes require sealant tape to be used between under and over laps with steel roofing (again adding to degree of difficulty).

Ledger boards are rarely adequately attached to resist imposed loads (remember snow).

If it was my own building – I would hire an engineer to verify adequacy of design. Provided footings were (or could be made) adequate, I would remove sidewall steel from the main building, so rafters could be attached directly to existing wall columns. Then reinstall steel using J Channel around where rafters protrude through the wall. I would hope to use a single rafter on each end, and one each side of existing columns. Roof purlins would be placed on edge between rafters – joist hung to interior ones and over top of end rafters if there is an end overhang.

Lots of considerations here and you have only a single opportunity to do it right or wrong. Best of success to you.

Making Everything Fit Under an Attached Lean-To

Reader GEOFF in MILFORD has an often found potential challenge, he writes:

“I am looking to build a 30×40 pole barn and want to also have a covered lean to for my camper that will run the length of the barn. In order to have the lean to tall enough for the camper how tall do I need to make the peak of the barn? I need at least 11 feet of height under the roof truss to make the camper fit. My thought is that I should be able to make the barn tall enough to just extend the roof out at the same pitch to cover the lean to. But at the same time I don’t want to make the barn taller than I need to make it. 

Hope this makes sense 

Thank you”

Mike the Pole Barn Guru responds:

Yours is a frequently seen dilemma – trying to fit tall things under an attached side shed (lean to). Even worse, when a future situation arises and a shed addition is needed and main building walls were just not tall enough to make everything work comfortably and not have a very low slope shed roof.

Rather than having to make your enclosed building portion significantly taller, I would recommend you approach this with an idea of it basically being a 40 foot square building, with one sidewall ‘pulled in’ 10′. If you went with say a 13 foot eave height, you could have 12 feet of interior clear height both inside, as well as under your roof only portion. This will allow for plenty of headroom both inside (where you could have a vehicle lift) and outside for your camper. With a 4:12 roof slope your overall building height would be 19’8″ under this scenario.
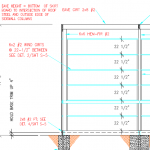
Most folks would take a design approach of trying to work this as a side shed. With a 13 foot eave height on the low side of a 10 foot width shed, at the same 4:12 roof slope, your eave height of enclosed portion would need to be 16’6” making overall building height 21’6”!

Ladder Framing, Use of Red Cedar Posts, and Custom Steel Trusses

This Monday the Pole barn Guru answers reader questions about “ladder framing,” aka bookshelf girts, the use of Eastern Red Cedar posts in post frame construction, and if Hansen provides custom steel trusses.

DEAR POLE BARN GURU: I had a question about ladder framing on a finish shop. I was thinking about running my two by sixes horizontally between my poles. So I could insulate them horizontally with 24 inch batt insulation. Then I wouldn’t have to add nailers on the inside for when I finish it. What’s your opinion? Thank you. DAVID

DEAR DAVID: I am a huge advocate of using commercial bookshelf style wall girts for any post frame building where climate control might be anticipated. Bookshelf girts also lend themselves well to best possible application of sheetrock.
For extended reading on this subject please see https://www.hansenpolebuildings.com/2017/08/bookshelf-girts-insulation/.


DEAR POLE BARN GURU: Greetings. We are looking at building a 40’x60′ pavilion. We live in Missouri and are overrun with Eastern Red Cedar. We have used them for posts before for porches and the like. I was wondering if a 10-12″ ERC would work as a post for a pole barn with a 10’roof and double truss construction. ROGER in IRONDALE

DEAR ROGER: Untreated Cedar, left exposed to weather in above ground situations probably has an expected lifespan of roughly 10 years (https://www.fs.fed.us/t-d/bridges/documents/tdbp/decayres.pdf). While you may have better results, it is not something I would or could recommend when properly pressure preservative treated columns are readily available and will outlast any of our lifetimes.
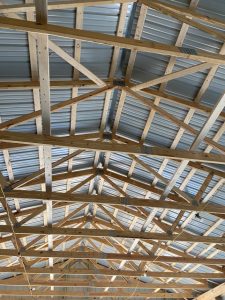
 

DEAR POLE BARN GURU: Hi, I’m putting a leanto on my barn, and I need 4 custom steel trusses.  Do you build and deliver custom trusses or only whole building kits?  The trusses would be ~19′ long for a 39’x19′ roof.  I live in Pennsylvania. KEITH in NEWTOWN

DEAR KEITH: Thank you very much for your interest in a new Hansen Pole Building. We do not use steel trusses in any of our buildings, however it is very possible we could provide a similar design solution using prefabricated metal plate connected wood trusses.


Some Pole Barns Deserve a Proper Burial

Some Pole Barns Deserve a Proper Burial

Reader STEPHAN in OGDENSBURG writes:

“Dear Pole Barn Guru,

I have a 30ish year old 32 by 54 feet horse pole barn where half the poles heaved some for more than 1 foot over the years. I need to fix it this year because I am afraid that the strain will make the structure collapse. The code in my area says that post must be buried 5 feet because of frost.

The issue is that the bedrock is between 3.5 and 5 feet below grade. I have an 8 foot wide concrete pad/runway in the middle of the barn (the whole length of the barn). I would like to do it right to last many years.

I considered these different options:

– replacing each posts with sonotubes with bigfoot at the bottom sitting on the bedrock (a lot of work if done with bags of concrete because I would have to do them a few at a time to keep the integrity of the structure)


– replacing bottom of each post with footing sitting on the bedrock and permacolumns (a little less work because the volume of concrete is just a little less)

– pouring a “bond beam” or a full slab on the inside against the posts with thicker sides to support the structure (as per engineer) and then building walls on the inside with 2×6’s to support the roof, and then removing the posts ( I will be losing about 6″ all around because the new walls will be inside the existing shell). I like this idea because I could prepare the area over the winter and get it poured in the spring. My issue is what would I do with the existing slab in the middle of the barn? Should I attach it with rebar and epoxy, pour over or remove the existing slab?
If I go with the last option, what would I use to support the lean-to? If the slab does not have a full foundation that would mean that it is “floating”, should the posts supporting the extension also be “floating” to ensure that they move together?

Or do you have a better option to suggest?

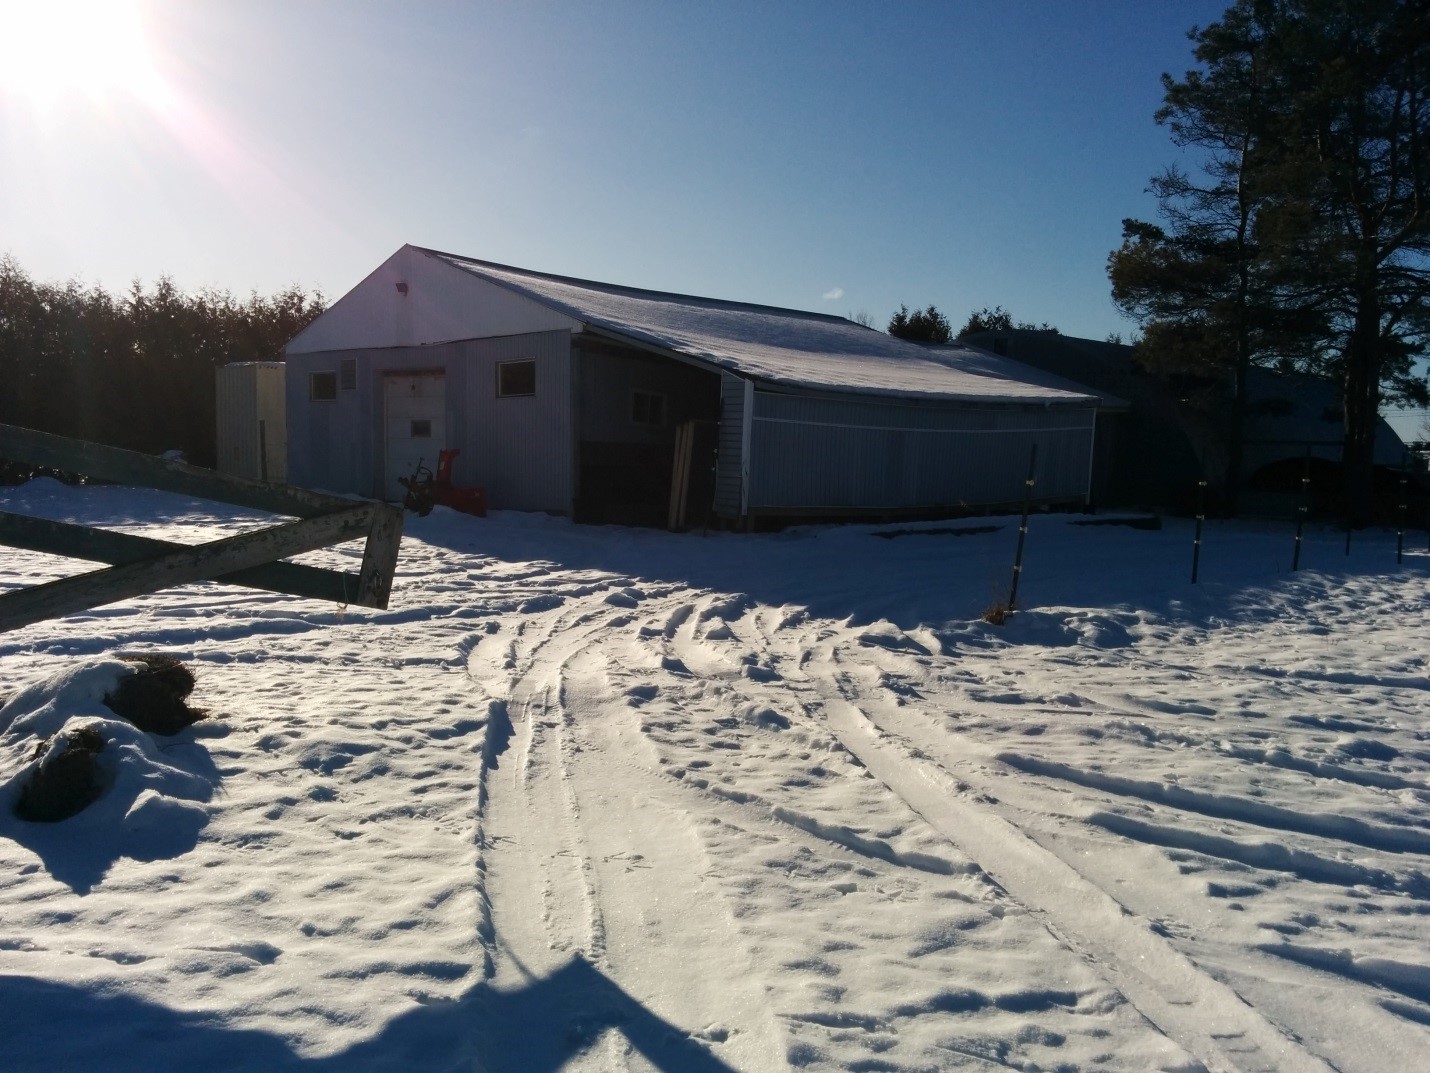
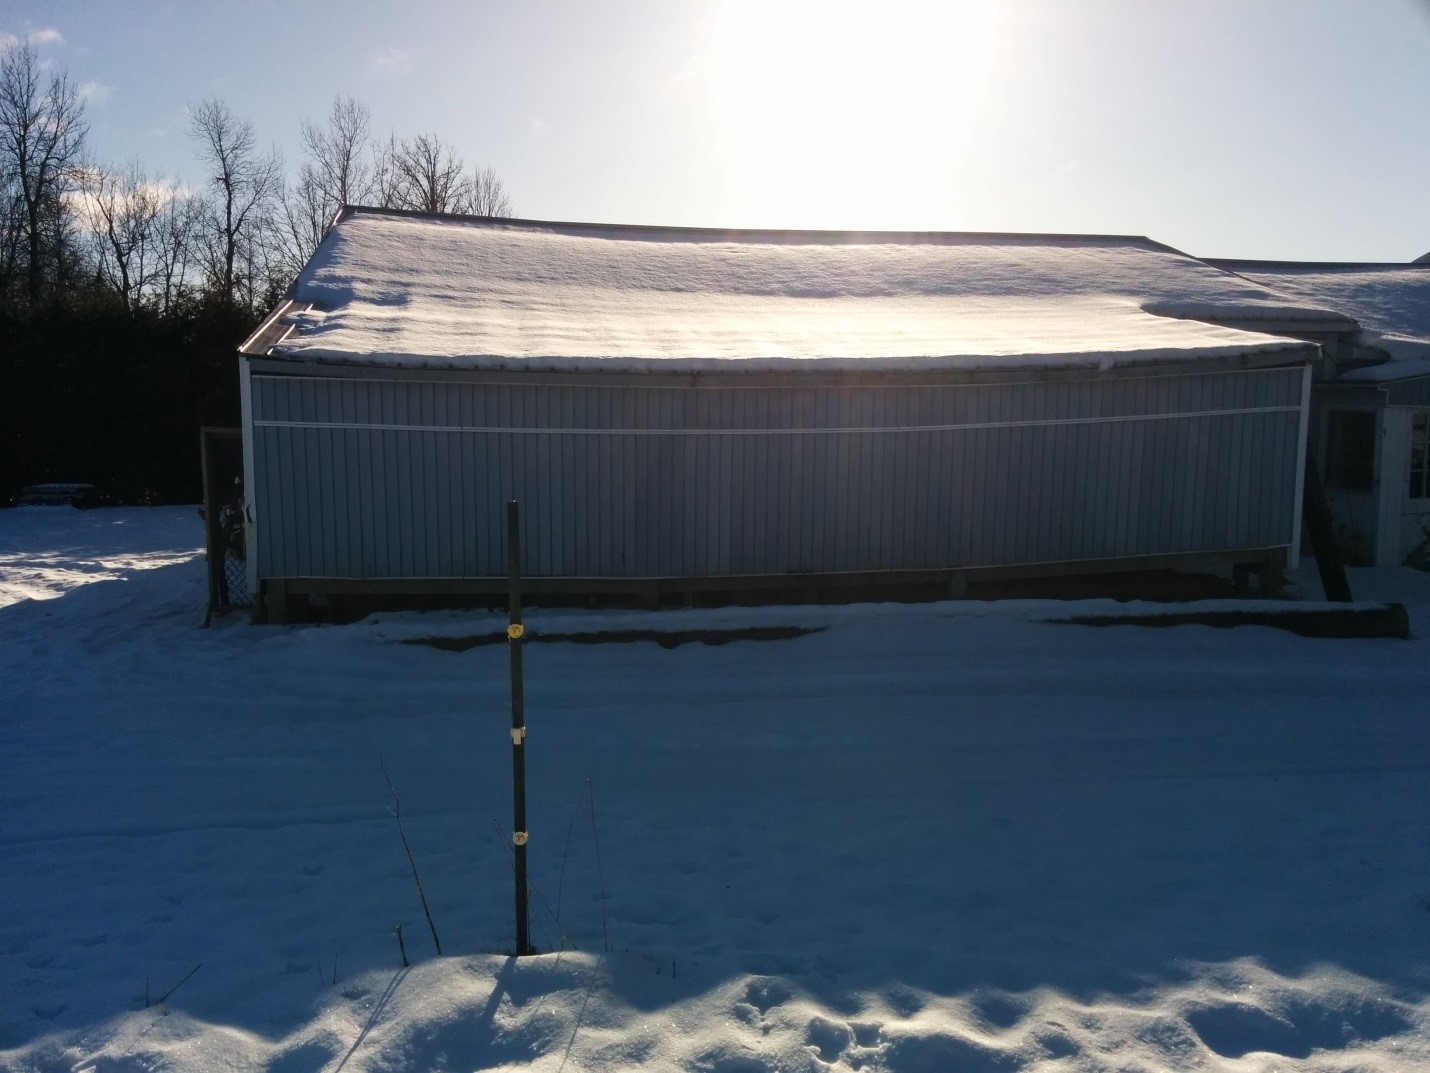
I have attached pictures to show how bad it is. You can see how crooked the ends are by the siding angle and the window in the lean-to area. Thank you for your help.”

Mike the Pole Barn Guru responds:

I am not one to pull any punches – I’ll give my honest opinion, even when I don’t feel it is one you want to hear.

There comes a time when reality sets in….in your pole barn’s case reality will be it needs to be knocked flat, bulldozed into a big hole, lit afire and then replaced. Otherwise, you are going to spend a phenomenal amount of time and money for any fix, and all are just band aids for something truly not worth saving.

Your frost heave issues are due to poor site preparation. Please read this information about properly preparing a site: https://www.hansenpolebuildings.com/2011/11/site-preparation/

and preventing frost heaving: https://www.hansenpolebuildings.com/2011/10/pole-building-structure-what-causes-frost-heaves/.

If you absolutely insist upon saving your pole barn, you should hire a geotechnical engineer to evaluate your site and give you expert advice. If you decide to give your barn a proper burial, start over with engineer sealed plans and a kit that gives you a lifetime of safe use…for you and your horses.


So You Want to Add a Shed

More than a fair number of pole building kits end up having side sheds added to one or more sides or ends – after the fact.

Pole barn with sideshedNow this all may sound like a pretty simple process, just plant another row of poles along what will be the new low side of the shed, throw up a few rafters, some purlins and roof it – all done!
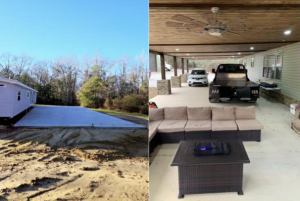
Well, I hate to break the news, but it isn’t so simple.

The existing building was probably not designed to take the added weight of the new shed!

So what to do…..

Choice numero uno would be to purchase the design and materials for the shed from whomever provided the original building. Make sure to have engineer sealed plans provided, so there is an assurance everything is done structurally correct.

A warning – most pole building kit providers or post frame builders will be inclined to wing it – hence the requirement for engineering.

Or

Choice number two – contact another supplier who is willing to provide the materials and the engineering.

Or

Behind Door Number Three – hire a registered design professional (RDP – architect or engineer) to provide plans and go shop for the materials yourself.

You can read my thoughts on “piecemealers” here: https://www.hansenpolebuildings.com/2014/03/diy-pole-building/

You may ask, “But Mike, why are you making this all so difficult?”

Because I would prefer for the building and its new shed or sheds to not come crashing down upon your head, or the heads of loved ones!

How does a shed effect an existing building?

The footings beneath each column (on the main building) need to be of sufficient diameter to adequately transfer the weight of the building, the new shed and the roof load (including white not-so-fluffy stuff in snow country). As an example, adding a 12 foot wide shed to the side of a 24 foot wide existing building DOUBLES the amount of vertical load placed upon the original sidewall column footings! A RDP can determine if the existing footings will be adequate, or if remediation needs to be done.

For an education on footings, please read: https://www.hansenpolebuildings.com/2014/08/footings/

The new shed also can potentially overload the existing wall columns either from roof loads, wind loads, or a combination of both.

Moving forward to the actual design of the shed…..

Even if the shed is just a roof only, the new columns for it should be sized adequately as if the shed will eventually be walled in. It can and does happen.

In aforementioned snow country, drift loads need to be taken into account if a side shed does not have the same slope as the existing building, or if the new shed is off an endwall. If the high side of the shed is not attached at the existing building eave height – slide-off loads need to be factored in. It isn’t much fun when the new shed collapses because these factors were not considered.

Most “armchair engineers” (no, not true engineers) tend to undersize the rafters when sheds are added. While a 2×10 or 2×12 may look big, it may very well take more of them than anticipated, or be best solved with monoslope trusses or LVL rafters.

Read about LVLs and sheds here: https://www.hansenpolebuildings.com/2015/02/lvls/

The one true solution (and most cost effective) – is to make the building larger to begin with.

And skip the side shed. This insures everything is properly designed and it is always easier to build it right the first time, than having to partially disassemble the existing building to attach the new shed.

Pole Barns in the News: Lean-to’s

The following article appeared in the Madison Journal Today (Madison County, Georgia) June 7, 2014:

“Madison County commissioners plan to exclude pole barns, carports and lean-tos from permitting requirements.

 But working out the policy on making this happen has not been an easy matter. And the board will once again discuss the issue at its June 2 meeting.

Madison County planning commission chairman Wayne Douglas said the planning commission aimed to “resolve what appeared to be an inequity” in county guidelines, the fact that some structures required a permit but not others. He said the planning commission aimed to have no permitting required for carports, pole barns and lean-tos.

A couple of county commissioners have also spoken out in favor of no permitting for such structures, saying they don’t want someone who simply wants a place to store his tractor to have to seek a permit for it.

Commissioner Mike Youngblood said he has an issue with how the measure was pushed by the planning commission, noting that building inspection director Eddie Pritchett and county attorney Mike Pruett weren’t consulted before the matter was brought to the board.

He added that he “wasn’t happy with some of the comments” at a recent planning commission meeting, after listening to the recording of the meeting. He told Douglas that his name was “Mike Youngblood” and he named each commissioner, saying that they are not “that bunch” as he heard on the recording. He told Douglas that he needs to have greater control over the tone of planning commission meetings.

Madison County commissioners heard from building inspection director Eddie Pritchett, who said he doesn’t think eliminating permit requirements is a good thing. He said permits are issued for safety reasons and that not requiring permits could open the door for unsafe structures in the county.”

 Personally, I believe the less government is involved in the everyday lives of the individual, the better. However, in this case I agree totally with Director Pritchett and for exactly the reasons he cited.

The Building Code does allow for “pole barns” and other low risk structures such as lean-tos, which would be unlikely to cause injuries or fatalities in the event of a failure to be designed to a lesser set of standards than frequently occupied buildings.

Pole Barn Lean ToAllowing carports, pole barns and lean-tos to be constructed without a structural plan review is inviting disaster. The tractor storage barn of today, could easily be converted to another use in the future – one which could result in a tragedy due to a building which has been cobbled together. I’ve seen pole barns converted into businesses with hundreds of clients walking through the doors daily, and even as far fetched as a “ski-through” where snow skiers can enter one open side and exit another – via a lift chair. Do you really want to not have these buildings subject to being built to code?

In my humble opinion, every building, regardless of use, yes including lean-tos, should be designed by a registered design professional (architect or engineer) as well as being subjected to a structural plan review prior to a permit to build being issued.